to most of the denizens of this board, you've already done this and will probably be bored. but if you haven't built a computer, it's not that scary. take a look.
basically, bored [private] + lots of spare parts + kid who needs a computer ([private] and [private]'s youngest brother) = this. most of what i needed i already had, since i've been upgrading the hardware on my computer for years (see here for the list of parts). this helped a bit, since i already knew it was all compatible. so i picked up a case and a few knicknacks and got to work.
here's my would-be helper:
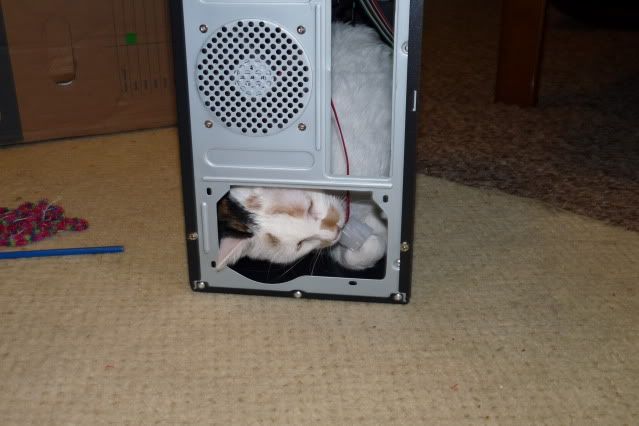
"hey look, a power cord!"
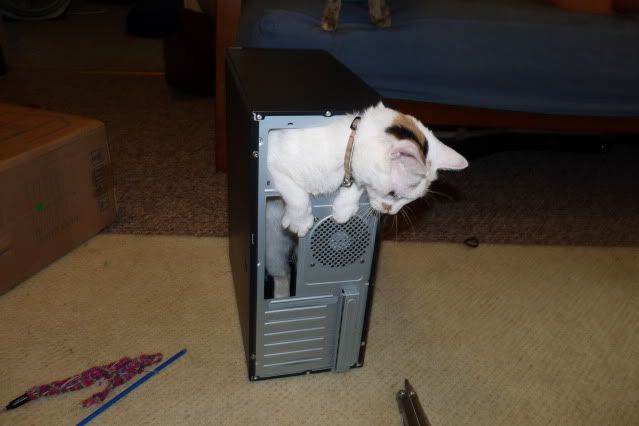
she climbed in there of her own accord. and out, too.
okay, here we go. all of this:
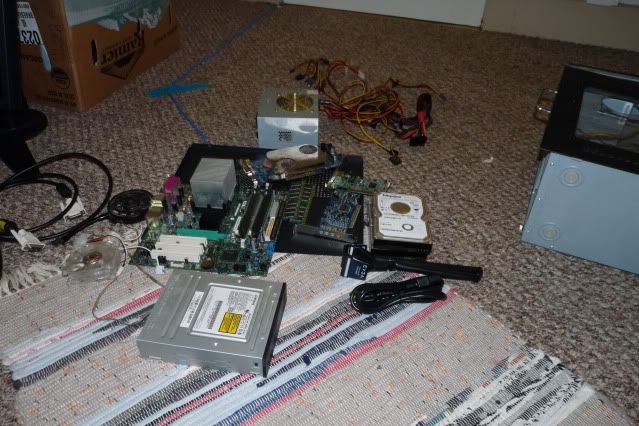
goes in this:
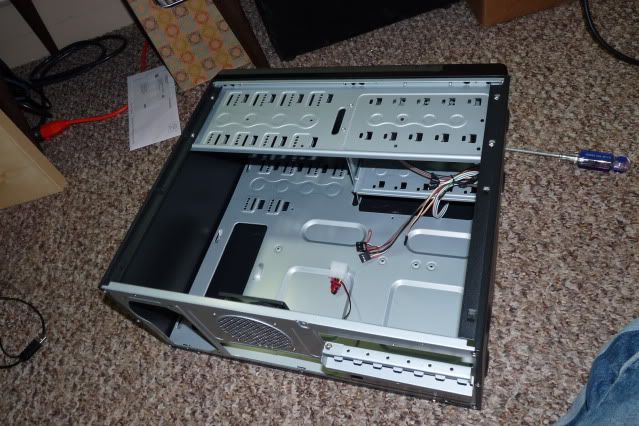
first, i dropped in the motherboard, dvd, and two hard drives. this is very simple, just turning some screws (the screws holding in the MB have spacers in back, to keep it separated from the case - no biggie).
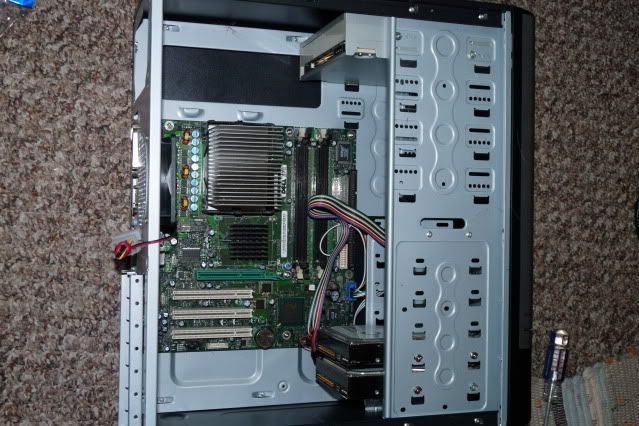
two caveats here:
1. the chip is already in, below the heatsink (the big gray radiator). usually those come separately.
2. see that little blue rectangle on the lower left of the MB? that little bitch is where the front panel hooks in (power/reset buttons, glowie bits). there are nine pins, which you plug in to connectors that are wired into the case. problem is, it's a dell proprietary motherboard, meaning the pin assignments are weird and i couldn't find a map of them in a moderate search, so i used a map of a similar socket. the power-on LED doesn't work, so i messed up that bit, but otherwise i got it right. any motherboard you buy, though, won't have this problem.
another cable goes to the USB pins, hidden behind the hard drives. no problems with that one.
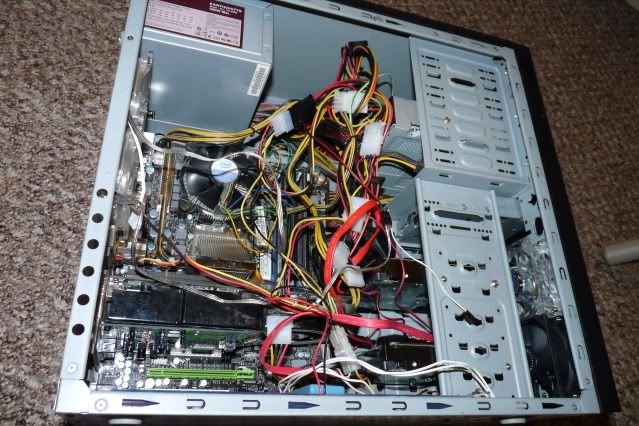
next, just screw in the PSU (power supply) and add the cards. the green slot (see above picture) is an AGP slot for that big graphics card there, below that are the sound card and a lan card in the PCI slots (the MB has a cable port, but it's only 10Mb/s, and i had a spare 100Mb/s card lying around, so i stuck it in). i stuck in three sticks of RAM as well. you'll also notice the multi-colored cable hooked into the sound card - that's for the speaker/mic jacks on the front of the case.
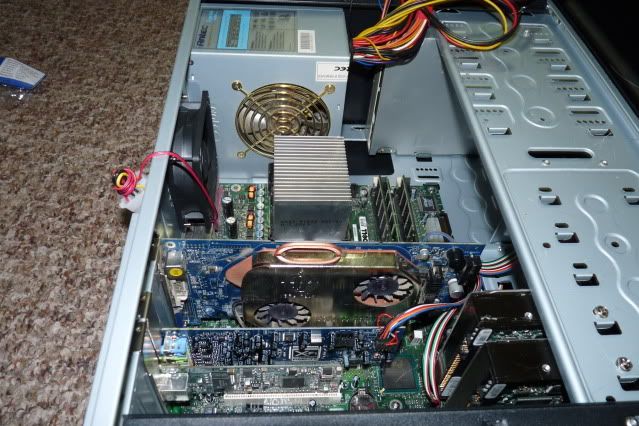
now wire everything up and plug it all in!
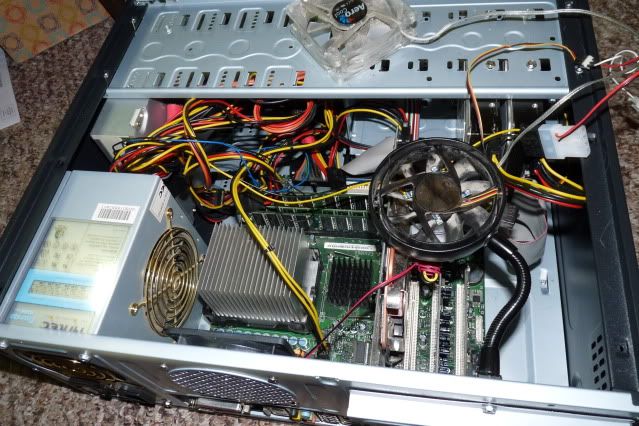
yellow/red cables are power. there's quite a lot of free space in the front of the case (where more hard drives and cd drives and whatnot can go) where i stuffed most of the unused ones. the dvd and two hard drives are connected with gray IDE cables, and i added two fans.
TA-DA!
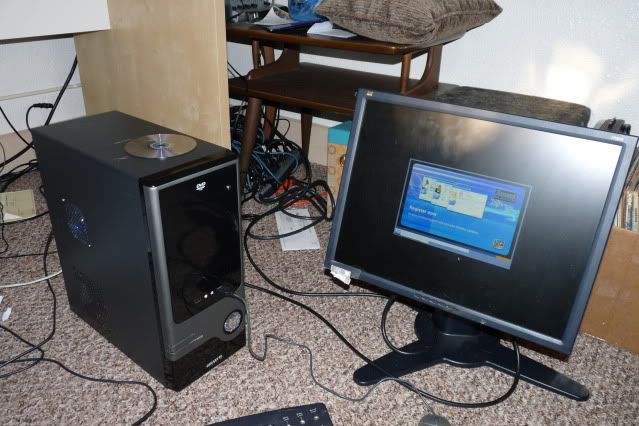
i had that monitor laying around, as well. in this picture i'm installing all the sound software. (the hard drives already had windows and everything on them - i'm still dithering about whether i wipe them clean or leave them mostly as-is for him.)
and just for the hell of it, here's mine:
the case is a lot bigger, there's more junk, lots more fans, it's fast as all hell, and it has many glowy parts which, obviously, don't show up on a computer that isn't plugged in. 4 LED fans (three blue, one four-color), two blue LED sticks on the front as well as a color-changing LED panel, two more blue LED sticks inside (one on the bottom, one behind the drives), a green three-LED light and a multi-color five-LED light.
yay for kittens and computers! that wasn't so hard, now, was it? all you need is a screwdriver.
basically, bored [private] + lots of spare parts + kid who needs a computer ([private] and [private]'s youngest brother) = this. most of what i needed i already had, since i've been upgrading the hardware on my computer for years (see here for the list of parts). this helped a bit, since i already knew it was all compatible. so i picked up a case and a few knicknacks and got to work.
here's my would-be helper:

"hey look, a power cord!"

she climbed in there of her own accord. and out, too.
okay, here we go. all of this:

goes in this:

first, i dropped in the motherboard, dvd, and two hard drives. this is very simple, just turning some screws (the screws holding in the MB have spacers in back, to keep it separated from the case - no biggie).

two caveats here:
1. the chip is already in, below the heatsink (the big gray radiator). usually those come separately.
2. see that little blue rectangle on the lower left of the MB? that little bitch is where the front panel hooks in (power/reset buttons, glowie bits). there are nine pins, which you plug in to connectors that are wired into the case. problem is, it's a dell proprietary motherboard, meaning the pin assignments are weird and i couldn't find a map of them in a moderate search, so i used a map of a similar socket. the power-on LED doesn't work, so i messed up that bit, but otherwise i got it right. any motherboard you buy, though, won't have this problem.
another cable goes to the USB pins, hidden behind the hard drives. no problems with that one.
next, just screw in the PSU (power supply) and add the cards. the green slot (see above picture) is an AGP slot for that big graphics card there, below that are the sound card and a lan card in the PCI slots (the MB has a cable port, but it's only 10Mb/s, and i had a spare 100Mb/s card lying around, so i stuck it in). i stuck in three sticks of RAM as well. you'll also notice the multi-colored cable hooked into the sound card - that's for the speaker/mic jacks on the front of the case.

now wire everything up and plug it all in!

yellow/red cables are power. there's quite a lot of free space in the front of the case (where more hard drives and cd drives and whatnot can go) where i stuffed most of the unused ones. the dvd and two hard drives are connected with gray IDE cables, and i added two fans.
TA-DA!

i had that monitor laying around, as well. in this picture i'm installing all the sound software. (the hard drives already had windows and everything on them - i'm still dithering about whether i wipe them clean or leave them mostly as-is for him.)
and just for the hell of it, here's mine:

the case is a lot bigger, there's more junk, lots more fans, it's fast as all hell, and it has many glowy parts which, obviously, don't show up on a computer that isn't plugged in. 4 LED fans (three blue, one four-color), two blue LED sticks on the front as well as a color-changing LED panel, two more blue LED sticks inside (one on the bottom, one behind the drives), a green three-LED light and a multi-color five-LED light.
yay for kittens and computers! that wasn't so hard, now, was it? all you need is a screwdriver.
 Posted by 79 at 4:49pm Jul 23 '10
 putting together a computer is easy! - 79